Verbatim Mouse Hangs Until You Click Again
The issue with mouse pointer lagging or freezing while using Windows is known and while Microsoft has been trying to improve upon information technology with simultaneous updates, it didn't help much.
Crusade
The crusade could be defects with the mouse hardware, or the USB port, or the software and the system. We would troubleshoot the outcome appropriately to isolate every possibility one by one. Some users reported that when they changed the battery, the trouble got stock-still.
Endeavor the following suggested resolutions sequentially:
Mouse lag is a major problem which are affecting many users in Windows 10 PC while using it for piece of work or Gaming. Here are Fixes for the problem.
Before trying fixes given you can try the Workarounds–
one. If yous are using a Logitech mouse, uninstall Logitech Options software from your computer.
2. Effort to laptop's trackpad pressing fn + f11 keys together. Unlike laptop manufacturers have unlike key combination for disabling trackpad.
2. Plug in the mouse arrow to another USB port of your computer.
iii. Follow these steps-
Unplug the mouse from your computer, wait for a while and and then plug it in again.
four. Check if your mouse is actually working by plugging it to another reckoner. If your mouse is working fine on another calculator so go for these fixes.
5. Reboot your computer to salvage the changes on your computer.
If whatsoever of these workarounds didn't work out for you, go for these fixes-
Fix 1
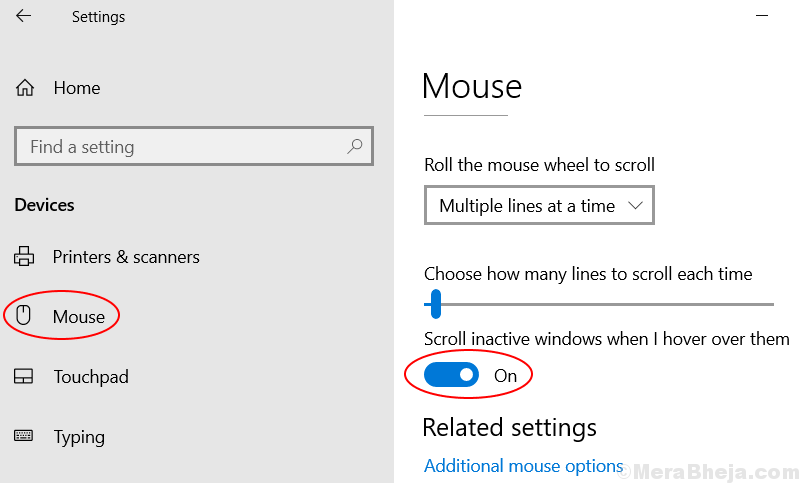
ane. Press Windows fundamental + I together to Open up Settings.
ii. Click on Devices
3. Cull Mouse from Left Card.
iv. Now, Turn off and again Turn on the pick "Scroll Inactive Windows when i Hover Over them". Do it few times.
Your problem will go fixed. If it Doesn't , Move on to adjacent fix.
Fix ii
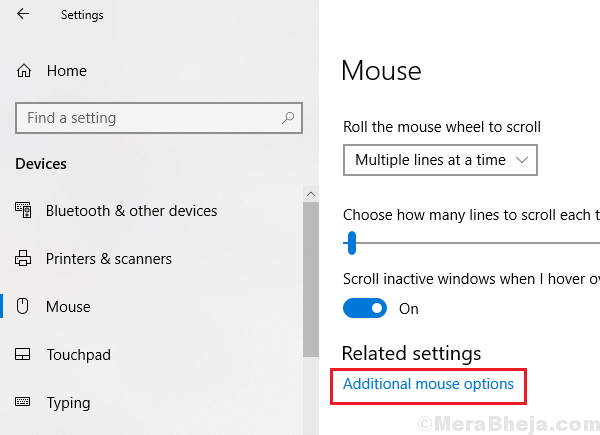
1. Become to Settings
2. Go to Devices.
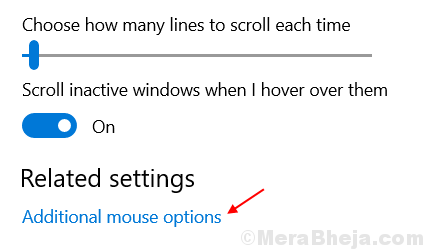
3. Choose Mouse from left carte.
4. Choose Additional Mouse Options
5. Choose Arrow Options Tab.
6. Uncheck Enhance Pointer Precision
7. Check Display Pointer Trails.
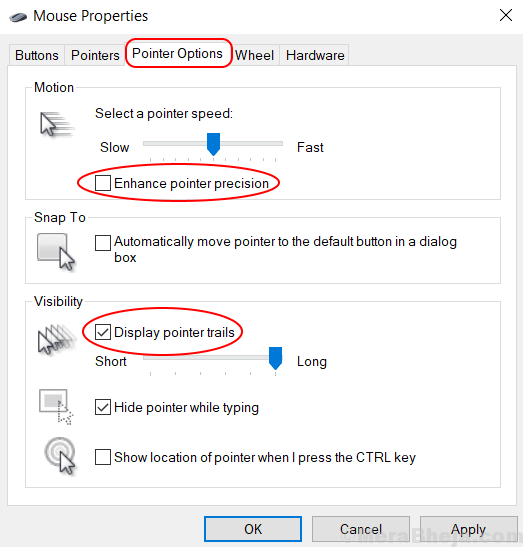
viii. Choose Ok and Exit.
Recommended Read: Prepare Mouse Cursor jumping effectually
Set up iii – Uninstall Mouse Drivers
1. Search Device Director in Search
2. In device managing director click and expand Mice and Other Pointing Devices.
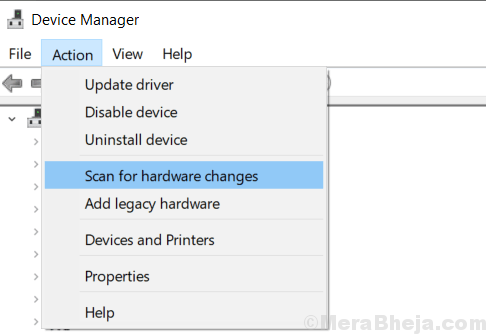
iii. Correct click and Uninstall Your Mouse Driver.
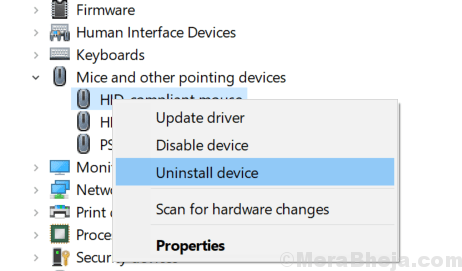
four. Click on Action and Cull Scan for Hardware Changes. Windows will automatically install all-time possible drivers.
Fix-iv Disable Fast Startup-
Turning Fast Startup 'off' on your computer may solve this issue.
1. Press Windows key+R to launch Run window. At present, copy-paste this run control and then hitting Enter to execute it. Power Options window will be opened.
powercfg.cpl

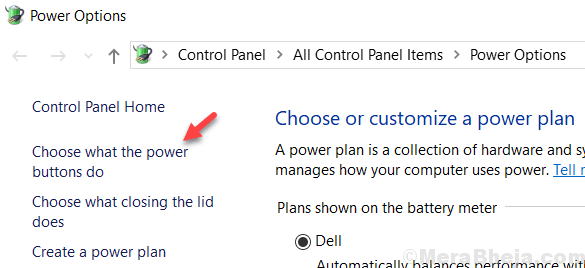
2. In Power Options window, on the left hand side, click on "Choose what power buttons do".
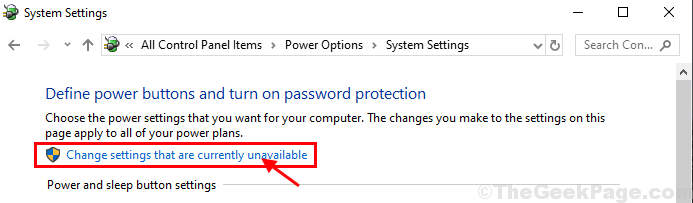
3. In System settings, click on "Change settings that are currently unavailable".
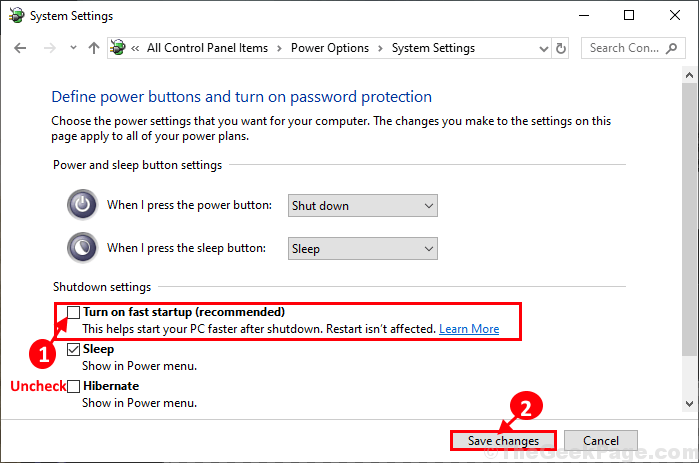
4. Now, under 'Shutdown settings' uncheck the option "Turn on fast startup (recommended)".
5. Finally, click on "Salve changes" to relieve the changes on your computer.
Shut System Settings window on your reckoner.
Restart your computer to save the changes. After rebooting mouse should work fine.
Prepare-5 Adjust Ability Management-
Windows closes any unnecessary driver to salve the power consumption. Sometimes this causes the lag issue with the mouse drives.
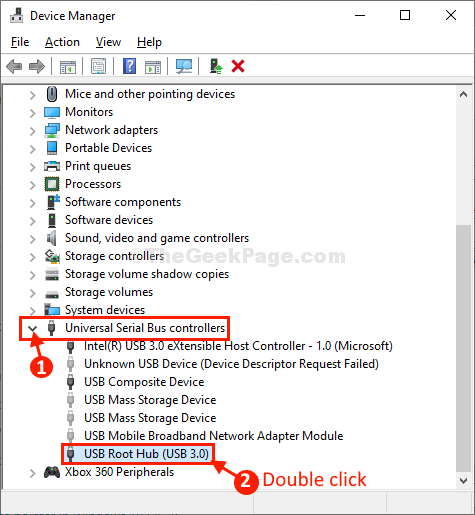
1. Press Windows cardinal+R to launch Run window on your figurer. In Run window, type "devmgmt.msc" and and then hitting Enter to open Device Manager window on your computer.

two. In Device Director window, scroll downward and expand "Universal Serial Coach controllers".
3. And then, double click on "USB Root Hub (USB 3.0)" to open up it's properties.
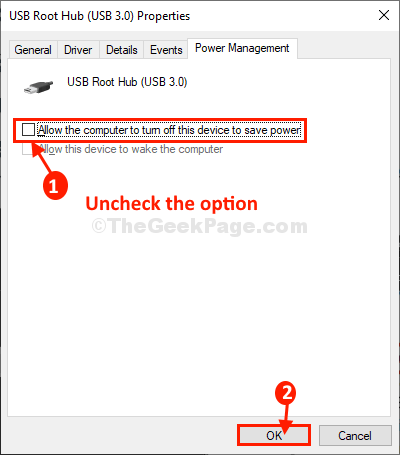
4. In USB Root Hub (USB 3.0) Properties window, make sure the option "Permit the figurer to turn off this device to salvage ability" is unchecked.
v. Then, click on "OK" to salvage the changes on your computer.
Close Device Manager window.
Reboot your computer to salvage the changes.
After rebooting your computer, the mouse should be working fine once more.
Your problem should be solved.
Fix 6] Modify mouse frequency
If you are using a mouse software on your computer like Logitech options, try changing mouse frequency in that software. Alter its frequency to a lower value like 250Hz.
Fix 7] Disable USB Selective suspend settings
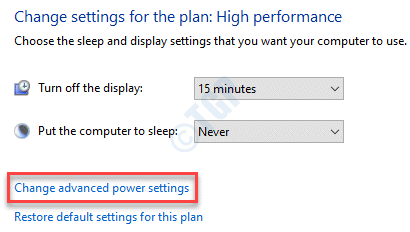
1. Search power plan in windows 10 search box.

2. Click on change avant-garde ability settings.
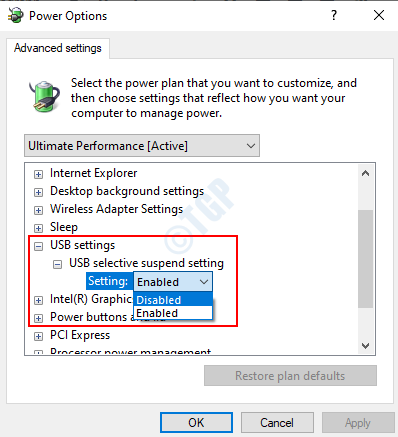
3. Double Click on USB settings to expand it.
4. Now, double click on USB Selective suspend settings to expand it also.
5. Now, Select disabled from dropdown.
If information technology says on bombardment and Plugged in, disable for both of them.
Fix 8] Effort to go along your router a little away from your PC and Bluetooth mouse
If your router is kept on your Reckoner tabular array , try to keep it a petty flake away , so that its strong WIFI signals do non interfere betwixt Bluetooth mouse and Computer communication.
Fix 9] Update drivers
1. Press Windows key + R central together to open run.
2. Type devmgmt.msc in it and click OK.

three. At present, Double click on Firmware to expand it.
4. Correct click on organization firmware and cull update.
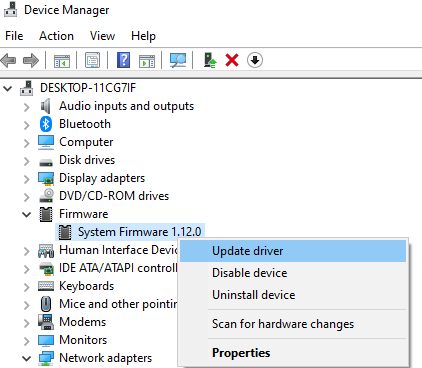
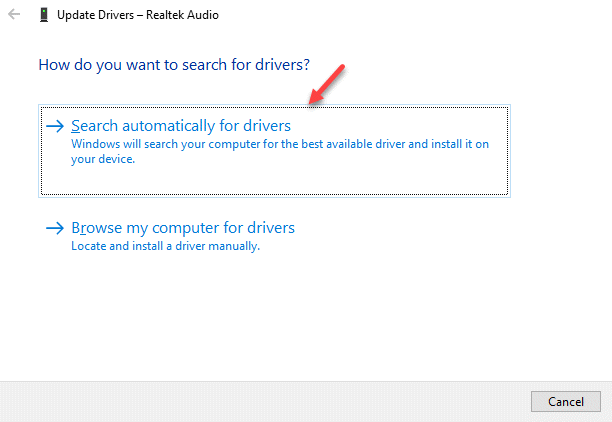
5. Click on search automatically for updated driver software.
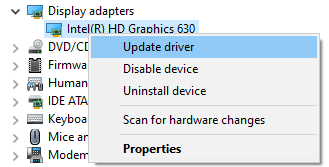
vi. Similarly , right click and update your Intel display driver.
Set up 10] Make clean mouse pad or mouse surface expanse
Most users don't exactly need a mouse pad since that isn't a requirement for an optical mouse, simply it matter if the surface beneath information technology isn't evidently, or is sleeky, or has dust on it. Check the same and make certain the mouse is placed on a dry, make clean, opaque, and non-glossy surface.
Set 11] Change the USB ports (For example USB 2.0)
The USB port the mouse is connected to could get loose with time and in such a situation, the pointer would lag or even freeze. To isolate this issue, endeavour connecting the USB mouse to different slots.
Try connecting the mouse to USB2.o port on your PC
Set up 12] Change the mouse
In case the issue is with the external mouse, we could try replacing it with some other one, obviously if available. If the other mouse works fine, we would have to supercede the troublesome mouse permanently.
Ready 13] Use default mouse settings
1] Click on the Starting time push and then on the gear-like symbol to open the Settings menu.
two] Go to Devices and and so to the Mouse tab on the left-paw side.
iii] Click on Additional mouse options.
4] In the Device settings window, click on Settings.
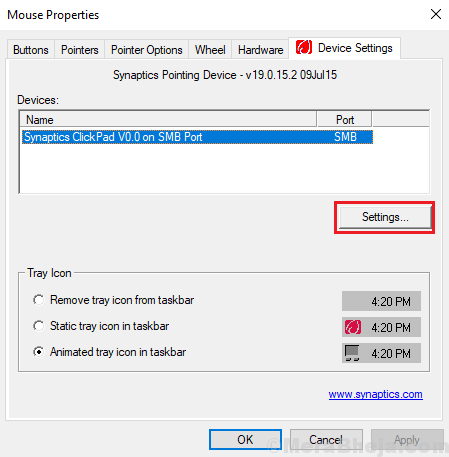
five] Click on Defaults to restore the settings to Default.
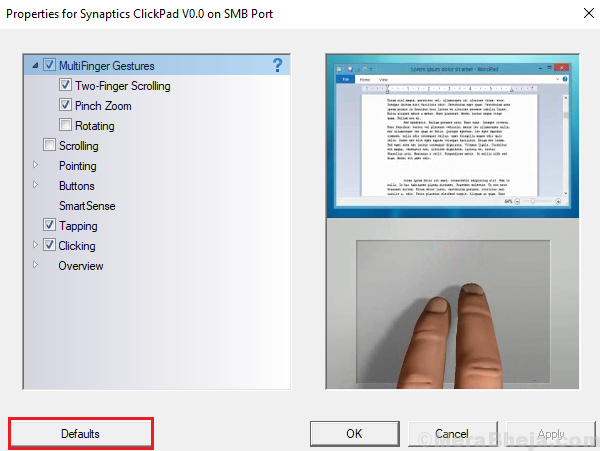
6] Click on Apply and the OK.
Fix 14] Check USB root hub
At times, the system might be set to go along turning OFF the the Mouse to salve power. Here's the procedure to identify and rectify it:
one] Press Win + R to open up the Run window. Type devmgmt.msc and press Enter to open the Device Manager.
2] Find the Universal serial bus controllers drivers in the list and expand the section.
three] In the list, notice USB Root Hub and right-click on information technology. Select Properties.
4] Become to the Ability management tab and uncheck "Permit the computer to plow off this device to save ability."
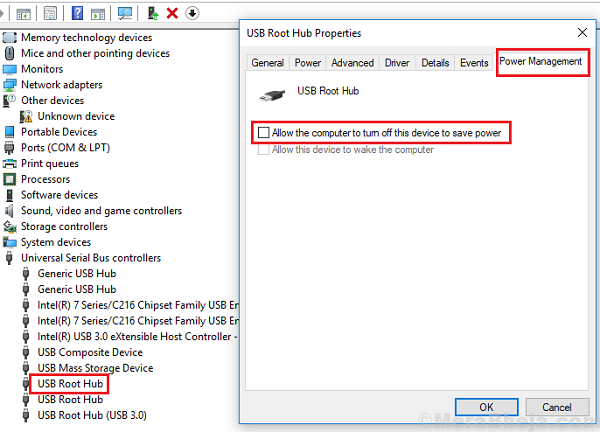
5] Click on OK to save the settings and restart the system.
Hope it helps!
Verbatim Mouse Hangs Until You Click Again
Source: https://thegeekpage.com/fix-mouse-pointer-lags-or-freezes-in-windows-10/